
It’s surprising how many Australians
don’t know what key lime pie is (“Did you say 'keen line pie'?”) – surely it won’t
be long before this delectable treat is considered a popular favourite right
across the globe. For the time being, however, it’s a quintessentially American
dessert. One that, in my mind, evokes images of Gran Stackhouse baking in her Bon
Temps kitchen on a sticky, swampy Louisiana summer’s evening… even though her
pie of choice was actually the pecan pie. But I digress.
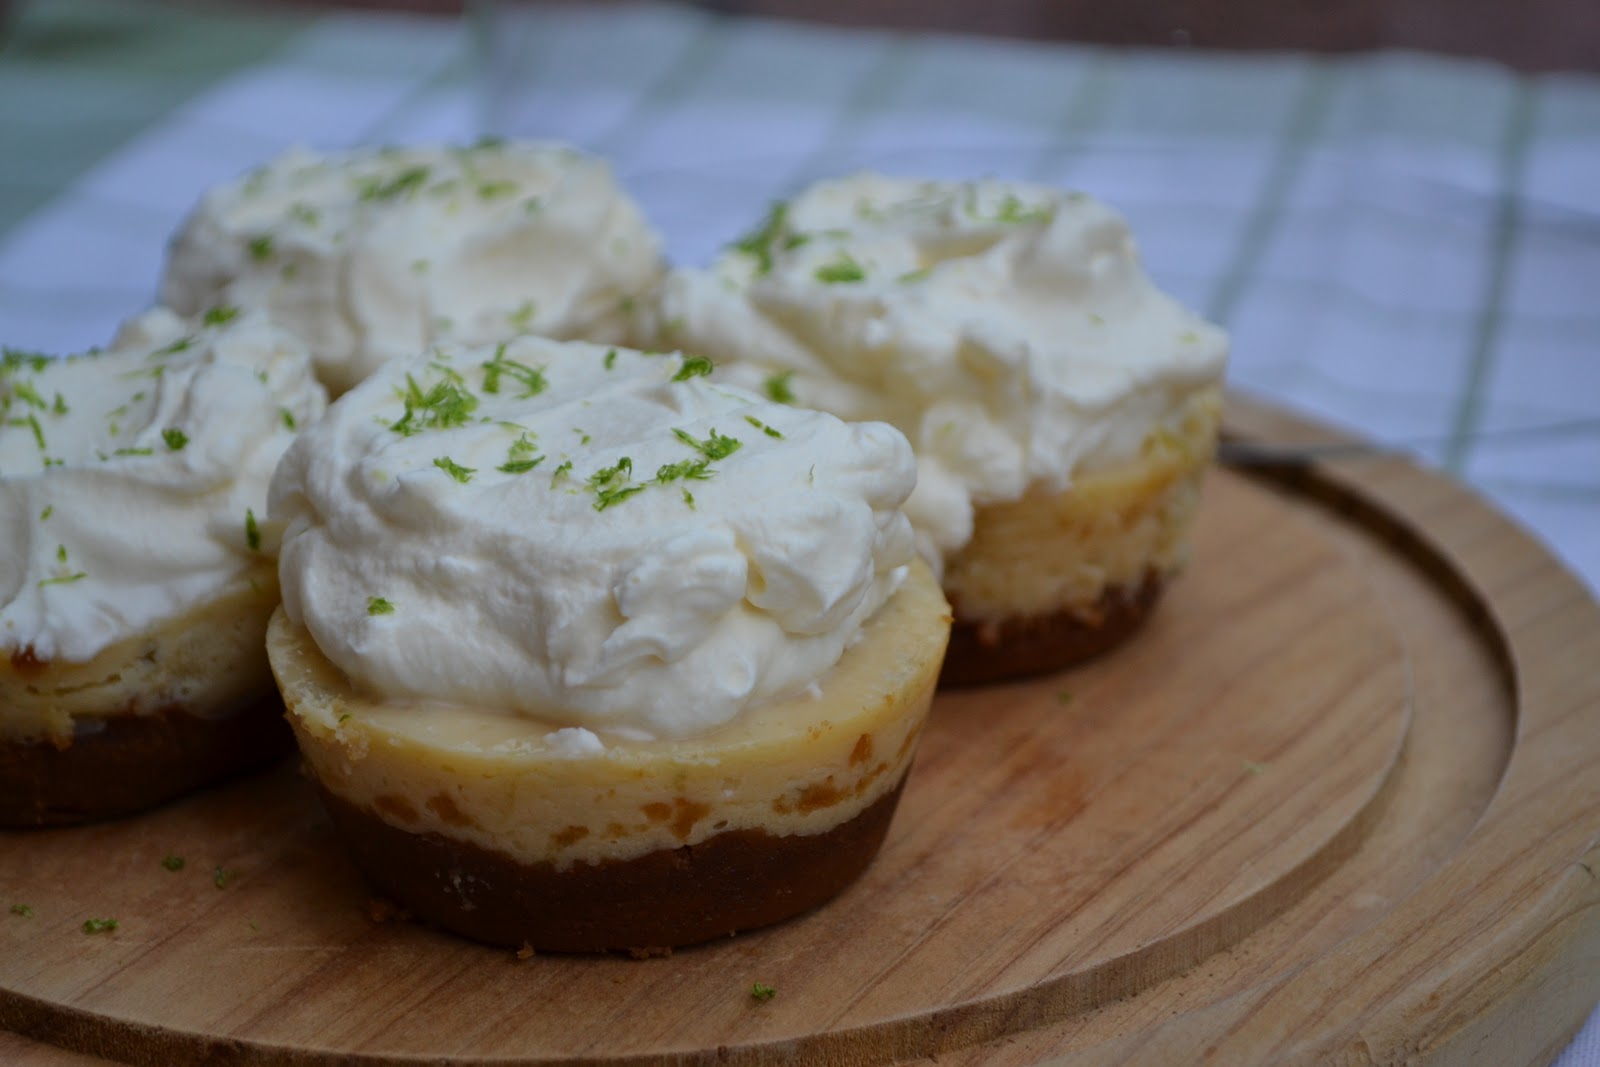
So what is key lime pie, exactly?
Well, if you like lemon meringue pie, you’ll love key lime pie. The base is
made up of crushed biscuits (as with a cheesecake base) and the centre is
sweetened condensed milk and egg yolk, mixed up with a good dose of lime – the
tartness of which is offset by the fresh, whipped cream topping. While the
meringue topping of a lemon meringue pie can turn that dessert into an overly-sweet
mess, the fresh cream topping of a key lime pie allows the flavour of the
filling to really shine.
Baked and then chilled in the fridge
before serving, this is a make-ahead dessert that will never fail to impress. It’s
also dead easy.
This week, I adapted my key lime pie
recipe to a miniature size so it was easier to share around at work. It would
also make travelling a lot easier if you don’t have a proper cake carrier.


Ingredients
Base
180 g digestive biscuits
60 g unsalted butter, melted and
slightly cooled
Filling
6 egg yolks
600 g sweetened condensed milk
4 limes
Topping
300 ml thickened cream
Zest of 1 lime


Method
- Preheat oven to 160ºC. Grease a 12-hole cupcake tray and line base of each hole with a circle of baking paper. Cut strips of baking paper and place two in every hole, forming a cross on the base, and rising up sides to above the height of the tray (see pictures below). These will act as pull-tabs to help you remove pies after baking and chilling.
- For the base, break biscuits into smallish pieces and process in a food processor or similar until finely ground. Pour the butter over the biscuits and mix again until butter is mixed through.
- Using finger-tips, firmly press about 2 tablespoonfuls of mixture into each cup to form a dense base approximately 0.5 cm thick. Bake for 12 minutes, then leave to cool completely in tray.
- Preheat oven to 140ºC. Zest the 4 limes, then cut each lime in half and juice well.
- In an electric mixer with a whisk attachment, gently whisk together egg yolks, sweetened condensed milk and lime juice and zest until mixture thickens slightly (about 1–2 minutes). Pour mixture into holes, not quite to the brim. Bake for approximately 13–15 minutes or until pies are slightly golden around edges. Set aside to cool completely before refrigerating for a few hours at least. Use pull-tabs to remove from tray.
- Before serving, whip the thickened cream and dollop over the tops of the pie. Decorate each with a very small amount of lime zest.


Tips
- How small is ‘smallish’? I break each biscuit into four or five pieces about the size of a 20c piece.
- I use my smoothie maker instead of an actual food processor, and process the biscuits in two smaller batches because my smoothie maker can’t handle the whole lot at once. I empty the first batch into a mixing bowl. Before emptying out the last batch from the smoothie maker, I add the melted butter to it and give it a good whiz. When I add it to the first batch in the mixing bowl, I mix it well with a wooden spoon to ensure the butter is distributed through the entire mixture.
- If you don’t own a food processor or smoothie maker, you can still crush biscuits for pie (or cheesecake) bases by placing them in a plastic bag, tying it shut, and bashing the biscuits to bits with a rolling pin.
- You’ll notice in my photos that I didn’t use the baking-paper pull tabs for each pie. I was testing different methods when I took the photos, and the pull tabs worked best. If you don't use pull-tabs, you’ll have to push a knife down the side of the pie to loosen it (and end up with a knife-shaped mark on the side of each pie).
- Even though the pies are easy to make, there is a lot of “cooling time” involved. So that making these pies doesn’t take up your whole evening, you can do this recipe ahead up to Step 3, leave the finished bases in the fridge overnight, then continue with the rest of the recipe the next day.
- If you don’t like the sound of the whipped cream topping, you can use meringue. But, as someone who doesn’t even like whipped cream, I have to say it is delicious with these pies and it would be a shame if you didn’t give it a chance!